In every gentleman’s life there comes a time when he needs to wear a tie, for some it comes daily, for others maybe once a year or even less often than that. Whenever it comes, it doesn’t hurt to know a little more about the tie than that it’s a string hanging around your neck that makes it hard to breathe.
We’ll start briefly with the history of the tie to get a background to it all and you never know when the history of the tie will pop up on a quiz.
All roads lead to Rome
The first time the tie appeared was probably in the early second century when Roman legionaries wore a kind of cloth around their necks, it was probably more for protection from the weather than for decoration. On the Trajan column that stands a short distance from the Colusseum in Rome, there are depicted legionaries with a “slip”, according to the history books, the column was inaugurated in 113 AD. so if we count the piece of cloth as a tie, it has been with 1900 years
Lace gizzards from the 17th century
A little closer to home is the lace cravat worn by the nobility, which in turn probably grew out of the scarf worn by “ordinary” people. At that time, lace was a symbol of wealth and usually not a bad one either as the most expensive handmade ties today pale in comparison with the ties of that time. The tie worn by King Charles II in 1610 cost just over £20, which may not seem like much, but when a good annual salary for an ordinary worker was a couple of pounds, it all looks different.
American boxers
In the 18th century, just over 100 years later, the ‘bandanna’ appears, a variant of scarf reminiscent of today’s tie. It was wrapped several times around the neck. American boxer James Belcher is said to be the man who made it popular.
Englishmen with starched linen tablecloths
As usual, we jump forward another 100 years and land in 19th century England where George Bryan Brummell started a whole new fashion among gentlemen of the time. Brummel used starched linen tablecloths that he discreetly tied around his neck. In those days, being a gentleman was not supposed to be so flashy and colorful. Brummel’s initiative laid the foundation for the tie as we know it today or whether it was an early precursor to the cravat, we at Gentlemen of Sweden leave it unsaid but it probably leans a little towards it.
University of Oxford
The tie as we know it today was born in 1880 when the school tie appeared when Oxford’s Exeter College decided to wear hat bands tied around the neck. The fashion was set in stone and in the same year they ordered ties as we know it today from the local tailor in the same colors and after that other schools quickly followed suit.
We could of course delve further into the history of the tie, but the 5 points above are just enough and big enough to remember without cheating.
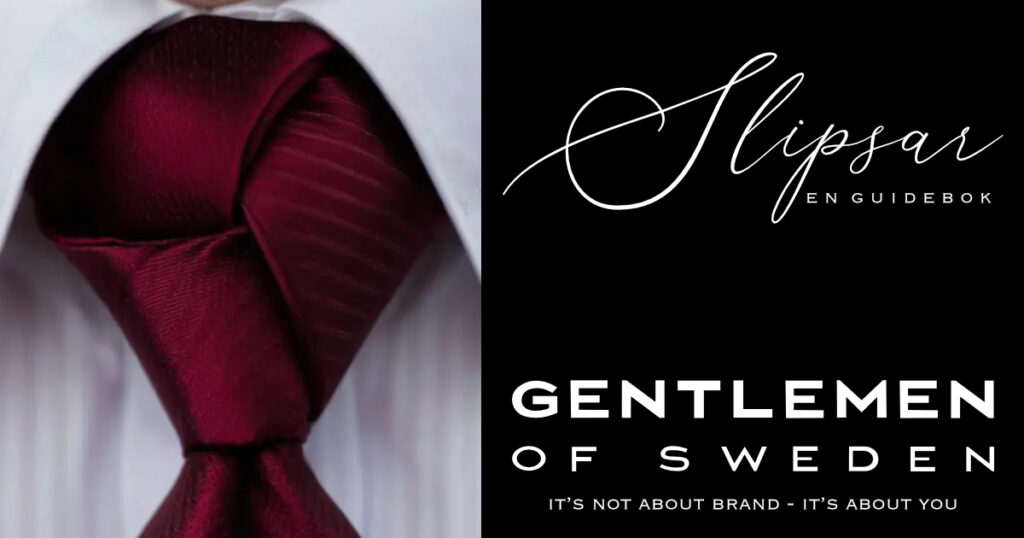
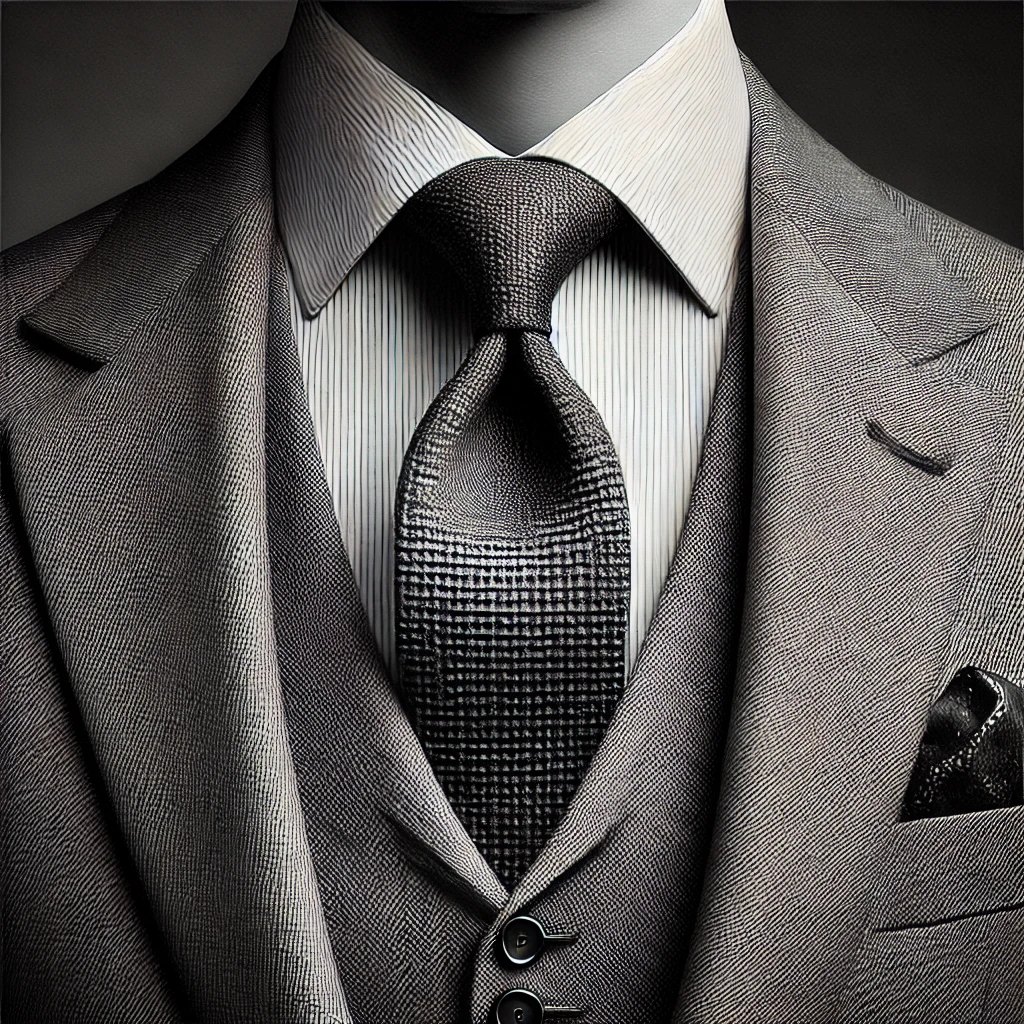
A closer look at the tie itself
What makes a good tie and what should it look like?
If we start with the material, a good tie is usually made of silk, wool or linen. Silk gives the tie a luxurious sheen and is also durable, wool ties are perfect for a more structured and matte look and finally we also have linen ties which are great for summery and more casual styles.
How the tie should look is something that goes hand-in-hand with what suits your style and the occasion. Solid colored ties are classic and always work so if you are only buying one or two ties go for solid colors! Patterned ties can highlight your personality but keep in mind that the color and pattern should complement the shirt and suit. If you are unsure, aim for a solid color with perhaps a little structure.
The size of the tie and knot must of course harmonize with the width of the collar and lapel of your jacket. A standard width of around 7-9 cm is versatile, while narrower ties (around 5-6 cm) give a more modern and streamlined look. The knot should be in the right proportions, so be sure to choose a knot that is neither too big nor too small for your shirt and jacket.
If you’re aiming to make tie knots your new hobby, it’s worth remembering that thicker ties work better with simpler knots like Four-in-Hand while thinner ties can use more complex knots like Eldredge.
If you’ve read this far, I’m guessing that you’re interested in ties and that you’d like our giveaway this October. Enter our giveaway to be in the draw for a gift card worth SEK 500 at Tieroom.se. All you have to do is sign up via the button below.
To give you somewhere to start, we have a list of a new tie knot to try every week for a whole year. Start from the top and find your favorites. My favorites are Four-in-hand, Eldredge, Cape knot, Trinity and of course Vortex when I want the tie to be a conversation starter.
What are your favorites?
1. four-in-hand
The Four-in-Hand is one of the oldest and most popular tie knots. Originally used by carriage drivers in the 19th century, it has become a timeless classic. This knot is perfect for both formal and informal occasions, especially when you want a slimmer and more asymmetrical knot.
Description:
- Wrap the tie around your neck, with the wide end longer than the narrow one.
- Cross the wide end over the narrow one.
- Pass the wide end under the narrow one and back over it again.
- Pull the wide end up through the loop around the neck.
- Pass the wide end through the prepared loop.
- Tighten the knot and adjust.
2. Windsor
The Windsor knot, named after the Duke of Windsor, is a wide and symmetrical knot associated with power and authority. Ideal for formal occasions such as business meetings or weddings, where a wider collar is used.
Description:
- Wrap the tie around your neck, with the wide end longer than the narrow one.
- Cross the wide end over the narrow one.
- Pull the wide end through the loop and then back down.
- Cross the wide end under the narrow end.
- Pull the wide end back up through the loop and back down.
- Pass the wide end over the front and pull up through the loop again.
- Pull the wide end through the loop produced.
- Tighten and adjust.
3. Half Windsor
The Half Windsor is a smaller and more versatile version of the Windsor knot. It provides a more proportionate knot that fits most collars and is a good choice for both professional and semi-formal occasions.
Description:
- Wrap the tie around your neck, with the wide end longer than the narrow one.
- Cross the wide end over the narrow one.
- Pull the wide end through the loop and back down.
- Pass the wide end under the narrow end and pull up through the loop again.
- Pull the wide end through the loop produced.
- Tighten and adjust.
4th Pratt
The Pratt knot, also known as the Shelby knot, was created by Jerry Pratt and popularized during the 1980s. This knot is symmetrical and medium-sized, making it ideal for both everyday and office use.
Description:
- Start with the tie at the back and front around the neck.
- Cross the wide end under the narrow end.
- Pull the wide end up through the loop and then down the front.
- Pass the wide end over the narrow end and pull up through the loop again.
- Pull the wide end through the loop produced.
- Tighten and adjust.
5. Simple
The Simple knot, or Oriental knot, is one of the simplest and most basic knots. It is perfect for casual occasions and when you want a small and discreet knot.
Description:
- Wrap the tie back and forth around your neck.
- Cross the wide end under the narrow end.
- Pass the wide end up through the loop.
- Pull the wide end through the loop produced.
- Tighten and adjust.
6. Eldredge
The Eldredge knot is a modern and complex slip knot that was created by Jeffrey Eldredge. This knot is a work of art and draws attention at festive and fashion-conscious events.
Description:
- Start with the tie back to front, with the narrow end longer than the wide end.
- Cross the narrow end over the wide end.
- Pull the narrow end up through the loop and back down.
- Wrap the narrow end around the back of the knot.
- Pull the narrow end up through the loop and into a forward loop.
- Repeat and adjust for a complex and structured knot.
7. trinity
The Trinity knot is a modern and decorative knot inspired by the Celtic triquetra symbol. With its unique shape, it is a perfect choice for festive occasions and when you want to impress.
Description:
- Start with the tie back to front, with the narrow end longer than the wide end.
- Cross the narrow end over the wide one.
- Pull the narrow end up through the loop and back down.
- Wrap the narrow end around the wide end.
- Repeat by passing the narrow end through the loop twice more.
- Tighten and adjust to a triangular shape.
8. Balthus
The Balthus knot, named after Polish artist Balthasar Klossowski, is a large and dramatic knot best suited to wider collars and formal occasions where you want to make a strong impression.
Description:
- Start with the tie back to front, with the wide end much shorter than the narrow one.
- Cross the wide end over the narrow one.
- Pull the wide end up through the loop and back down.
- Wrap the wide end around the back of the knot.
- Pull the wide end up through the loop and down through a forward loop.
- Repeat until the knot is thick and large, then adjust.
9. Cavendish
The Cavendish knot is a variation of the Four-in-Hand and gives a fuller and more symmetrical shape. It’s great for semi-formal occasions and when you want a knot that’s simple yet elegant.
Description:
- Wrap the tie around your neck, with the wide end longer than the narrow one.
- Cross the wide end over the narrow one.
- Wrap the wide end around the narrow end twice.
- Pull the wide end up through the loop and down through the loop produced.
- Tighten and adjust.
10. kelvin
The Kelvin knot is a solid and compact knot named after the British scientist Lord Kelvin. It is perfect for occasions where you want a stable knot that stays in place, such as formal business meetings.
Description:
- Start with the tie at the back and front around the neck.
- Cross the wide end under the narrow one.
- Wrap the wide end around the narrow end and up through the loop.
- Pass the wide end through the prepared loop.
- Tighten and adjust.
11. Nicky
The Nicky knot is a lesser known, but very practical knot that is easy to tie and untie. It is symmetrical and slightly smaller than the Windsor knot, making it suitable for both formal and casual occasions.
Description:
- Start with the tie at the back and front around the neck.
- Cross the wide end under the narrow one.
- Pull the wide end up through the loop and back down.
- Wrap the wide end over the front.
- Pull up through the loop and through the loop produced.
- Tighten and adjust.
12. Prince Albert
The Prince Albert knot is a double variation of the Four-in-Hand that provides a longer and narrower knot. This knot works well for long ties and narrow collars, and is best suited for informal to semi-formal occasions.
Description:
- Wrap the tie around your neck, with the wide end longer than the narrow one.
- Cross the wide end over the narrow one.
- Wrap the wide end around the narrow end twice.
- Pull the wide end up through the loop and through the loop produced.
- Tighten and adjust.
13. Van Wijk
The Van Wijk knot is a tall, cylindrical knot created by artist Lisa van Wijk. This knot is unique and creates a bold impression, perfect for creative and casual events.
Description:
- Wrap the tie around your neck, with the wide end longer than the narrow one.
- Cross the wide end over the narrow one.
- Wrap the wide end around the narrow one three times.
- Pull the wide end up through the loop and through the loop produced.
- Tighten and adjust.
14. bow tie
The bow tie is a classic tie knot that dates back several hundred years. It is mainly used on formal occasions such as black-tie events, and it adds a sophisticated touch to your outfit.
Description:
- Put the fly around your neck so that the right side is longer.
- Cross the longer end over the shorter one.
- Fold the longer end over the shorter one and pull up through the loop.
- Fold the shorter end into an arc.
- Pull the longer end over the center of the arch.
- Pull a loop from the longer end through the knot that forms behind the bow.
- Tighten and adjust.
15. Christensen
The Christensen knot, also known as the Cross knot, is an elegant and unique knot well suited for narrow to medium collars. It gives a sophisticated look and works well for both office and festive occasions.
Description:
- Wrap the tie around your neck, with the wide end longer than the narrow one.
- Cross the wide end over the narrow one.
- Pull the wide end up through the loop and back down.
- Wrap the wide end over the front side horizontally.
- Pull up through the loop and through the loop produced.
- Tighten and adjust.
16. Plattsburgh
The Plattsburgh knot is a large, triangular knot that works well with wider collars and formal occasions. It gives a balanced and symmetrical look that is both elegant and confident.
Description:
- Wrap the tie around your neck, with the wide end longer than the narrow one.
- Cross the wide end under the narrow one.
- Pull the wide end up through the loop and back down.
- Wrap the wide end around the front.
- Pull up through the loop and through the loop produced.
- Tighten and adjust.
17. St. Andrew
Named after the patron saint of Scotland, the St. Andrew knot is an elegant and symmetrical knot. It works well for any occasion where you want a knot that is not too big or too small.
Description:
- Wrap the tie back and forth around your neck.
- Cross the wide end under the narrow one.
- Pull the wide end up through the loop and down the back.
- Cross the wide end over the narrow one again.
- Pull up through the loop and through the loop produced.
- Tighten and adjust.
18. onassis
The Onassis knot is inspired by the Greek ship owner Aristotle Onassis and is a variation of the Four-in-Hand knot. It has a casual and sophisticated look, perfect for style-conscious occasions.
Description:
- Start by tying a regular Four-in-Hand knot.
- Pull the wide end through the loop as usual, but pass it over the whole knot without pulling it through the loop again.
- Leave the wide end hanging in front of the knot.
- Adjust to create a relaxed look.
19th Grantchester
The Grantchester knot is a full and wide knot that works well with wide collars and thicker ties. It is perfect for formal occasions where a wide and symmetrical knot is desired.
Description:
- Wrap the tie back and forth around your neck.
- Cross the wide end under the narrow one.
- Wrap the wide end around the narrow end twice.
- Pull the wide end up through the loop and through the loop produced.
- Tighten and adjust.
20. Diagonal
The diagonal knot is an unusual and unique knot where the wide end diagonally cuts across the narrow end. It is best suited for fashion-conscious occasions and for those who want an original look.
Description:
- Start with the tie at the back and front.
- Cross the wide end under the narrow one.
- Pull the wide end up through the loop and down the back.
- Wrap the wide end diagonally over the narrow end.
- Pull up through the loop and through the diagonal loop produced.
- Tighten and adjust.
21. cape
The Cape knot is a stylish and rare tie knot that gives a sophisticated impression. It is perfect for formal occasions and festive events where you want to stand out with an elegant knot.
Description:
- Start with the tie at the back and front.
- Cross the wide end under the narrow one.
- Pull the wide end up through the loop and then down the back.
- Wrap the wide end around the front.
- Pull the wide end through the loop again and then through a new loop that forms.
- Tighten and adjust.
22. Murrell
The Murrell knot is a unique reverse knot with the narrow end facing forward. It is suitable for creative and casual occasions where you want to show off a different and eye-catching slip knot.
Description:
- Start with the tie back to front, with the narrow end longer than the wide end.
- Cross the narrow end over the wide one.
- Pull the narrow end up through the loop and back down.
- Pass the narrow end over the front of the knot.
- Pull up through the loop again and through the loop produced.
- Tighten and adjust.
23. Hanover
The Hanover knot is a symmetrical and elegant knot that works well with wider collars and formal occasions. It provides a perfectly balanced triangular shape that works well for both business and formal occasions.
Description:
- Wrap the tie back and forth around your neck.
- Cross the wide end under the narrow one.
- Wrap the wide end around the narrow end twice.
- Pull the wide end up through the loop and through the loop produced.
- Tighten and adjust.
24. Manhattan
The Manhattan knot is an elegant and modern knot, ideal for business meetings and semi-formal events. It is a narrower version of the Windsor knot and gives a sophisticated look.
Description:
- Wrap the tie around your neck, with the wide end longer than the narrow one.
- Cross the wide end over the narrow one.
- Pull the wide end up through the loop and down the back.
- Wrap the wide end over the front and pull up through the loop again.
- Pass the wide end through the prepared loop.
- Tighten and adjust.
25. Victoria
The Victoria knot is a fuller version of the Four-in-Hand knot. It’s great for occasions when you want a compact and durable knot that adds a little extra volume.
Description:
- Wrap the tie around your neck, with the wide end longer than the narrow one.
- Cross the wide end over the narrow one.
- Wrap the wide end around the narrow end three times.
- Pull the wide end up through the loop and through the loop produced.
- Tighten and adjust.
26th coffee shop
The café knot was popular in the early 20th century and gives a sophisticated and almost artistic look. It is ideal for formal and creative events where you want to show off a unique knot.
Description:
- Start with the tie at the back and front.
- Cross the wide end over the narrow one.
- Pull the wide end up through the loop and back down.
- Wrap the wide end around the back of the knot.
- Pull the wide end up through the loop again and down through a forward loop.
- Tighten and adjust.
27. Baltic
The Baltic knot is a simple yet elegant knot that is suitable for both formal and informal occasions. It is easy to tie and produces a slim, symmetrical knot that works with most collars.
Description:
- Wrap the tie back and forth around your neck.
- Cross the wide end under the narrow one.
- Pull the wide end up through the loop and back down.
- Pass the wide end over the front and pull up through the loop again.
- Tighten and adjust.
28. bowline
Inspired by the world of sailing, the Bowline knot gives a relaxed and stylish look. It’s great for casual occasions and when you want a knot with a maritime feel.
Description:
- Wrap the tie back and forth around your neck.
- Cross the wide end under the narrow one.
- Wrap the wide end around the narrow end and pull up through the loop.
- Pass the wide end through the prepared loop.
- Tighten and adjust.
29. Atlantic
The Atlantic knot is a unique and mirrored version of the Windsor knot. It has an elegant and unexpected look that is perfect for fashion-conscious occasions and when you want something different.
Description:
- Start with the tie at the back and front.
- Cross the wide end under the narrow one.
- Pull the wide end up through the loop and down the front.
- Wrap the wide end over the narrow end and pull up through the loop again.
- Pull through the loop produced.
- Tighten and adjust.
30. Linwood Taurus
The Linwood Taurus knot is a modern and complex knot with a circular shape. It is perfect for formal events and when you want a knot that stands out from the crowd.
Description:
- Start with the tie at the back and front.
- Cross the wide end over the narrow one.
- Pull the wide end up through the loop and back down.
- Wrap the wide end around the knot and up through the loop again.
- Pull down through the loop produced.
- Adjust to create a circular shape.
31. fishbone
The Fishbone knot is a creative and artistic knot that resembles a fishbone. It is ideal for festive and fashion-conscious events where you want to show off your creativity.
Description:
- Start with the tie at the back and front.
- Cross the wide end over the narrow one.
- Pull the wide end up through the loop and back down.
- Wrap the wide end around the knot several times to create a pattern similar to a fish bone.
- Tighten and adjust.
32. Rose
The Rose knot is a beautiful and complex knot that resembles a rose. It is perfect for romantic occasions or formal events where you want to make a strong impression.
Description:
- Start with the tie at the back and front.
- Cross the wide end over the narrow one.
- Pull the wide end up through the loop and back down.
- Wrap the wide end around the knot several times to create a flower-like shape.
- Adjust until the knot resembles a rose.
33. Cape Knot
The Cape Knot is a modern and eye-catching knot that gives a sophisticated look. It is suitable for formal events and is a great choice when you want to show off your style.
Description:
- Start with the tie at the back and front.
- Cross the wide end under the narrow one.
- Pull the wide end up through the loop and down the front.
- Wrap the wide end around the knot and up through the loop again.
- Pull down through the loop produced.
- Tighten and adjust.
34. Oslo
The Oslo knot is a simple but elegant knot that is easy to tie and gives a stylish look. It is ideal for both formal and informal occasions.
Description:
- Wrap the tie back and forth around your neck.
- Cross the wide end under the narrow one.
- Pull the wide end up through the loop and back down.
- Pass the wide end over the front and pull up through the loop again.
- Tighten and adjust.
35. Persian
The Persian knot is an elegant and asymmetrical knot that is ideal for festive occasions. It gives a sophisticated and exotic look.
Description:
- Start with the tie at the back and front.
- Cross the wide end over the narrow one.
- Pull the wide end up through the loop and back down.
- Wrap the wide end around the knot several times.
- Tighten and adjust.
36. Diagonal Loop
The Diagonal Loop knot is a modern and unique knot where a diagonal loop is formed over the tie. It is ideal for fashion-conscious events and when you want an eye-catching knot.
Description:
- Start with the tie at the back and front.
- Cross the wide end under the narrow one.
- Pull the wide end up through the loop and back down.
- Wrap the wide end diagonally across the knot.
- Pull up through the loop and through the diagonal loop.
- Tighten and adjust.
37. Atlantic
The Atlantic knot is a creative and mirrored knot that gives an asymmetrical but elegant look. It is suitable for festive and creative occasions.
Description:
- Start with the tie at the back and front.
- Cross the wide end under the narrow one.
- Pull the wide end up through the loop and down the front.
- Wrap the wide end over the narrow end.
- Pull up through the loop and through the loop produced.
- Tighten and adjust.
38. Reverse
The Reverse knot is a simple and stylish knot where the narrow end is visible from the front. It is perfect for creative occasions and for those who want to show off a different style.
Description:
- Start with the tie at the back and front.
- Cross the narrow end over the wide one.
- Pull the narrow end up through the loop and back down.
- Wrap the narrow end around the wide end.
- Tighten and adjust.
39. New
The Nouveau knot is an elegant and modern knot that gives a sophisticated look. It is suitable for both formal and semi-formal events.
Description:
- Start with the tie at the back and front.
- Cross the wide end under the narrow one.
- Pull the wide end up through the loop and back down.
- Wrap the wide end around the knot and pull up through the loop again.
- Pull down through the loop produced.
- Tighten and adjust.
40. Diagonal Reverse
The Diagonal Reverse knot is a unique and eye-catching knot that creates a diagonal line across the tie. It is perfect for fashion-conscious occasions.
Description:
- Start with the tie at the back and front.
- Cross the wide end under the narrow one.
- Pull the wide end up through the loop and back down.
- Wrap the wide end diagonally across the knot.
- Pull up through the loop and through the diagonal loop.
- Tighten and adjust.
41. Diagonal Double
The Diagonal Double knot is a sophisticated and stylish knot that forms two diagonal lines across the tie. It is perfect for formal and fashion-conscious events.
Description:
- Start with the tie at the back and front.
- Cross the wide end under the narrow one.
- Pull the wide end up through the loop and back down.
- Wrap the wide end diagonally across the knot twice.
- Pull up through the loop and through the diagonal loop.
- Tighten and adjust.
42. Hourglass
The Hourglass knot is a unique and elegant knot that forms an hourglass shape. It is ideal for formal occasions and when you want a knot that stands out.
Description:
- Start with the tie at the back and front.
- Cross the wide end over the narrow one.
- Pull the wide end up through the loop and back down.
- Wrap the wide end around the knot and pull up through the loop again.
- Shape the hourglass by adjusting the knot.
- Tighten and adjust.
43. Matrix
The Matrix knot is a modern and complex knot that gives a sophisticated and eye-catching look. It is perfect for formal and fashion-conscious occasions.
Description:
- Start with the tie at the back and front.
- Cross the wide end over the narrow one.
- Pull the wide end up through the loop and back down.
- Wrap the wide end around the knot several times to create a complex pattern.
- Tighten and adjust.
44. infinity
The Infinity knot is a beautiful and elegant knot that resembles an infinity symbol. It is perfect for romantic and formal occasions where you want to make a lasting impression.
Description:
- Start with the tie at the back and front.
- Cross the wide end over the narrow one.
- Pull the wide end up through the loop and back down.
- Wrap the wide end around the knot several times to create an infinity symbol.
- Tighten and adjust.
45. Ellipse
The Ellipse knot is a modern and stylish knot that forms an ellipse shape. It is suitable for both formal and semi-formal events.
Description:
- Start with the tie at the back and front.
- Cross the wide end under the narrow one.
- Pull the wide end up through the loop and back down.
- Wrap the wide end around the knot and pull up through the loop again.
- Form an ellipse by adjusting the knot.
- Tighten and adjust.
46. echo
The Echo knot is a unique and creative knot that creates an echoing pattern over the tie. It is ideal for festive and fashion-conscious occasions where you want an eye-catching knot.
Description:
- Start with the tie at the back and front.
- Cross the wide end under the narrow one.
- Pull the wide end up through the loop and back down.
- Wrap the wide end around the knot several times to create an echoing pattern.
- Tighten and adjust.
47. Centric
The Centric knot is a symmetrical and sophisticated knot suitable for formal events. It gives an elegant and well-balanced look.
Description:
- Start with the tie at the back and front.
- Cross the wide end over the narrow one.
- Pull the wide end up through the loop and back down.
- Wrap the wide end around the knot and pull up through the loop again.
- Tighten and adjust.
48. equator
The Equator knot is a modern and eye-catching knot where the tie is wrapped around the center like an equator. It is perfect for fashion-conscious occasions.
Description:
- Start with the tie at the back and front.
- Cross the wide end under the narrow one.
- Pull the wide end up through the loop and back down.
- Wrap the wide end horizontally around the knot.
- Pull up through the loop and through the horizontal loop.
- Tighten and adjust.
49. Mystic
The Mystic knot is a complex and elegant knot that creates a mystical pattern over the tie. It is ideal for formal events and when you want a knot that stands out.
Description:
- Start with the tie at the back and front.
- Cross the wide end over the narrow one.
- Pull the wide end up through the loop and back down.
- Wrap the wide end around the knot several times to create a mysterious pattern.
- Tighten and adjust.
50. Vortex
The Vortex knot is a modern and eye-catching knot that creates a swirling pattern over the tie. It’s perfect for fashion-conscious occasions where you want a knot that stands out.
Description:
- Start with the tie at the back and front.
- Cross the wide end under the narrow one.
- Pull the wide end up through the loop and back down.
- Wrap the wide end around the knot several times to create a swirling pattern.
- Tighten and adjust.